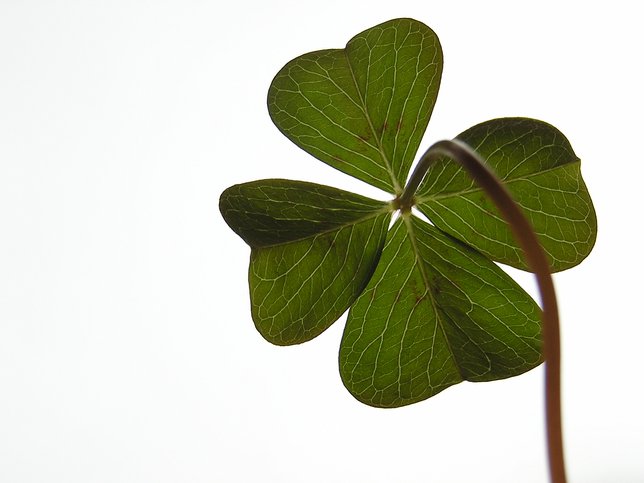
March is a month full of fun St. Patrick’s Day activities that both adults and children can enjoy together. There are tons of events and parades all across the island that are perfect for a weekend out with the family. If you’re looking to stay close to home but still have an eventful day, we have put together a list of steps on how to preserve four leaf clovers!
Four leaf clovers are especially lucky and people feel the luck when they find them. That’s if they find them! This is why a lot of people like to preserve their clovers so they can keep the luck forever. You can preserve them and put them in a frame to put up as décor in your home. If you're interested in a more kid-friendly craft, preseve your four leaf clover into a laminated bookmark. Choose from the two fun crafts or do both by following the instructions below:
Preserving Four Leaf Clovers in A Picture Frame
1. First, you must find a four leaf clover.
If you’re lucky enough to find one, you will probably find another. Most of the time the four leaf clovers are found together, or nearby from one another.
2. Press the clovers.
After you find your lucky clovers, it is important to press them as soon as possible. Without pressing them, the clovers can wilt and fold which won’t look as nice. There are a couple of different ways you can press your clovers:
- Press in between sheets of paper.
- Press in the pages of a book you no longer care about or underneath a large textbook.
- Weigh them down with heavy books.
3. Once pressed, handle with care and place on paper.
Paint your clover with a few drops of green food coloring which will enhance the color. This step is optional but encouraged so your clover won’t lose its bright color in a few weeks.
4. Allow the clover to dry overnight.
Once dried, repeat the step above with fresh paper.
5. Find the perfect picture frame.
Once you have your frame, clean both sides of the glass and place it on a clean rag and allow it to air dry over night. Make sure the glass is cleaned properly, once the clover is inside you will not be able to clean it again.
6. Choose an acid-free paper to mount the clover.
7. Lay the frame face-down on the paper, without the glass, and trace the inside of the frame.
8. Cut the paper along the traced line.
This will ensure that the paper fills the frame but does not cover all of the glass. If you’re using a mat instead of paper, trim the mat instead using the same process.
9. Place a small amount of acid-free glue in the middle of the clover and press it down gently onto the paper.
10. Spray the entire paper with an acid-free, UV-resistant sealant.
11. Lay the paper onto the mat and tape in place with acid-free tape. If you’re not using a mat, you can skip this step.
12. Cut a piece of Mylar the same size as the paper or mat.
13. Center the mounted clover face-down onto the glass so that an even rim of glass appears around the paper or mat.
14. Place the plastic Mylar on top.
15. Seal the mounted clover to the frame with aluminum tape. Be sure that the tape adheres to the glass along with the paper. Make sure not to misalign the tape so it is not visible on the front of the glass.
16. Assemble the frame.
Then put your lucky clover on display and enjoy!
Preserving Four Leaf Clover into A Laminated Bookmark
1. Follow steps 1-4 above for this craft as well!
Overview: Find your four leaf clover and press it inbetween paper or the pages of a book to flatten it out. Be sure to add the food coloring to the clover so the brightness lasts longer. Let dry overnight and repeat food coloring step with fresh paper.
2. Create your bookmark.
Have the kids cut out their own rectangular shaped bookmark. They can decorate it if they'd like or leave blank so the clover can stand out. It's best to use a thick paper so your bookmark is not flimsy.
3. Use a gluestick to glue your four leaf clover to the bookmark.
This will ensure that it stays put. If you place laminate over them without glue, the clovers will lift up off the paper.
4. Place laminate over the bookmark.
Do this carefully then trim off any of the excess laminate. Voila! Your bookmark is ready to use!
There are a few other interesting ways to preserve a clover along with different places to put them. Some make pieces of jewelry out of them, allowing their luck to stay with them wherever they go, and some put them in the family photo album. You can get creative and preserve them in cool places such as a bottle cap and place them as decoration in your home.
Make it a fun and educational time with the family by allowing the kids to help out while telling them a bit about the process. Discuss St. Patrick’s Day together and see who can come up with other fun activities to do all month long!
[Sources: Preserve Your Four Leaf Clover Frame]
Have some tips for preserving a four leaf clover?
Share with us by commenting below!


